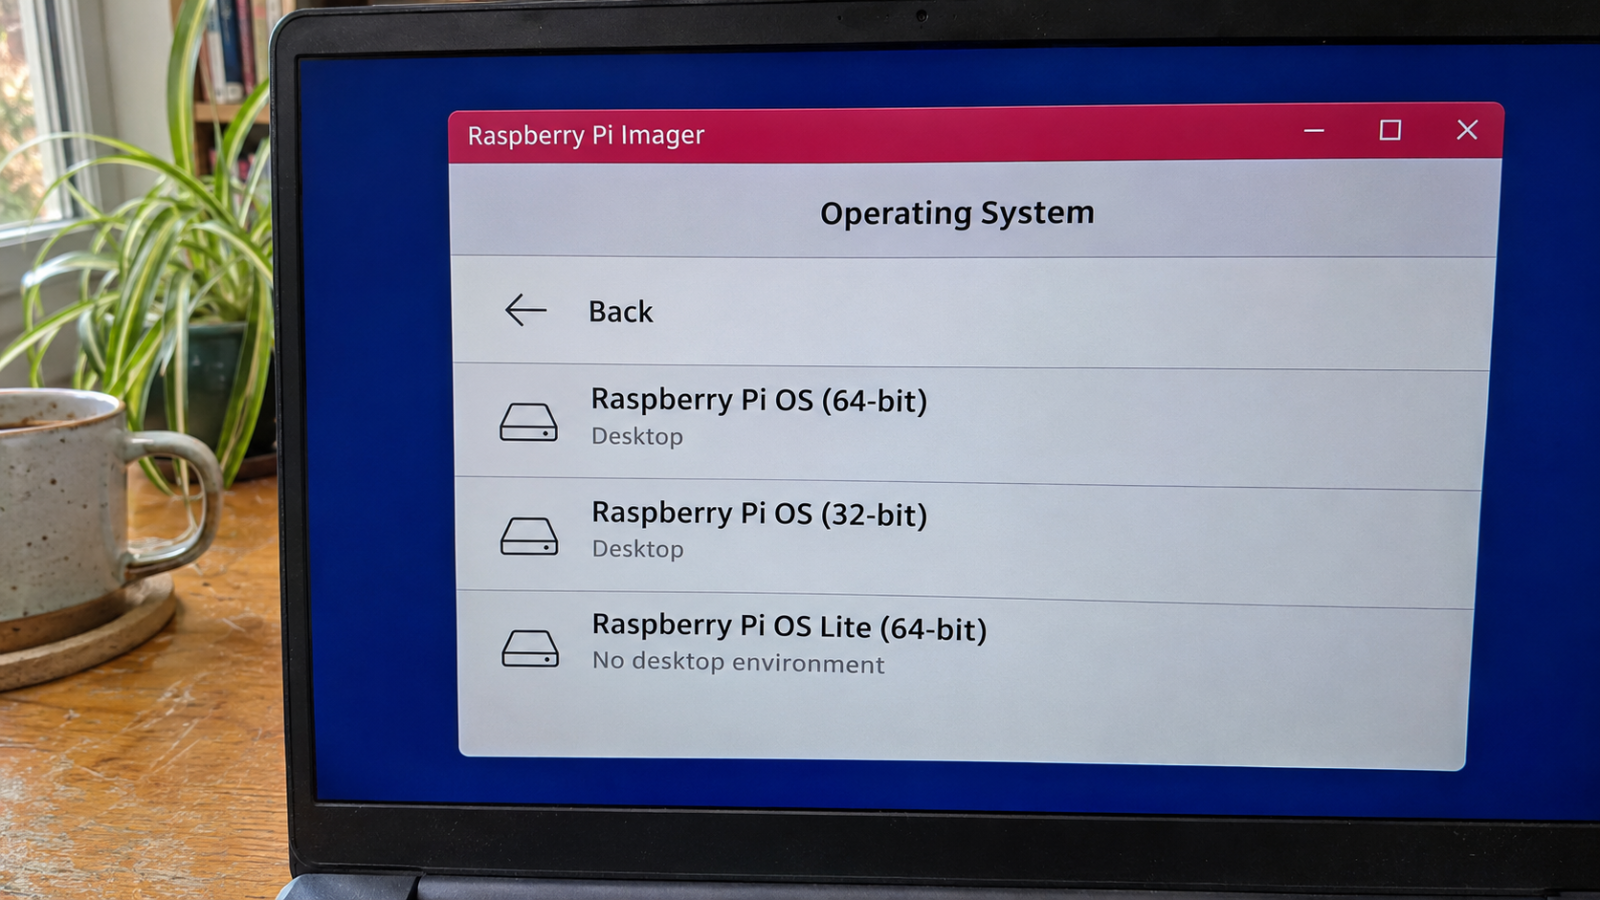
I keep hearing that flashing a Pi is quick and the defaults are fine. What made me curious is the customisation step. It writes your username, Wi-Fi, SSH and locale onto the card along with the image. So which choices in Raspberry Pi Imager actually matter, and which defaults can I leave alone? The Raspberry Pi documentation answers this fairly clearly. The OS choice is simple: the desktop edition is the recommended one, in 64-bit for a Pi 3, 4 or 5. Customisation is where the real choices sit, and the docs strongly recommend filling it in.
Which Raspberry Pi OS build fits my board?
Imager is the official Raspberry Pi tool for downloading OS images and writing them. The getting-started guide lists it for Mac, Windows and Linux. Its screens come in a fixed order: Device, then OS, then Storage. My first question was about the middle one. Why does the OS list offer more than one Raspberry Pi OS?
There are three editions, and the Raspberry Pi OS documentation picks one. The desktop with basic software is the recommended edition offered in Imager. Lite drops the desktop and leaves a command line only. That page says Lite suits headless setups and older models. Full goes the other way and adds more applications to the desktop.
Next came bit width. Does a Pi 4 want the 32-bit or the 64-bit build? The 64-bit version is designed for boards with 64-bit processors. The OS page names the Pi 3, Pi 4 and Pi 5. The 32-bit version is meant for older models with 32-bit processors. As for the release itself, the current Raspberry Pi OS is based on Debian Trixie, and the previous one on Bookworm.
How big should the card be? For the desktop edition, the getting-started guide recommends at least 32 GB of storage. For a headless Pi, it points to Lite instead.
Put together, the docs give two clear paths for a Pi 4 or Pi 5. With a screen attached, that means the desktop edition, 64-bit, on a card of at least 32 GB. Run headless, the same boards point to Lite in 64-bit.
What do I set before the first boot?
Can I skip customisation altogether? Yes, with the Skip customisation button. The Raspberry Pi getting-started guide strongly recommends setting the Pi up at this point instead.
In Imager 2.0, customisation is its own step. OMG! Ubuntu covered the November 2025 release as a redesign. A summary of changes now appears before you write, and the same report mentions a command-line package. That summary is the last look at your settings before the card is written. Linux Magazine lists a modern interface, cloud-init and Raspberry Pi Connect among the 2.0 features. Connect is Raspberry Pi's service for reaching a Pi remotely from a web browser. cloud-init is a common Linux tool for applying settings on a system's first boot.
Here is the order of screens, from choosing the board to writing the card:
- Open Imager and choose your board in the Device step.
- In the OS step, choose the Raspberry Pi OS edition from the section above.
- In the Storage step, choose the card or drive. Keep Exclude system drives selected, as the getting-started guide strongly recommends. RaspberryTips puts it bluntly: make sure you don't select a drive used for something important.
- Fill in customisation: hostname, username and password, Wi-Fi, SSH and locale.
- Read the summary of changes, then write.
A system drive is a disk the computer itself runs from, such as its internal SSD. Step 3 is the only point where Imager can be pointed at one by mistake.

The photo shows step 4 on a laptop screen. Imager's customisation page has fields for the hostname, the username and the Wi-Fi network. Each one is typed here, before the card goes anywhere near the Pi.
What can the username be? The rule in the getting-started guide is strict. It must be lowercase and contain only letters, numbers, underscores and hyphens.
When does Wi-Fi go in? Before the first boot, per the same guide, and this screen is where it goes. Wi-Fi also needs a country, known as the regulatory domain. The guide sets that from a different field, which I return to at the end.
For remote use over the network, the official instructions say to turn on Enable SSH with its toggle. SSH can check a login with either a password or a key pair. RaspberryTips covers the same ground in its walkthrough: time zone, keyboard, user, Wi-Fi and SSH.
Locale is the last field, and you pick a capital city there. The getting-started guide says that choice sets your time zone and keyboard layout.
One default never shows up as a field. The Imager GitHub page says the tool collects anonymous metrics, or telemetry, by default, with an opt-out. The same page says Imager installs through apt on Raspberry Pi OS.
SD card, USB drive or NVMe: what changes?
Does a USB drive need a different method? The Raspberry Pi hardware documentation says no. You flash the USB storage device with the operating system image, the same procedure as for SD cards. RaspberryTips also lists USB drives, SSDs included, as targets in the Storage step.

The photo shows a microSD card seated in a small USB reader, with the board beside it. On a laptop with no card slot, a reader like this is how the card reaches Imager's Storage step.
Power adds one condition for USB. The hardware docs say USB boot is disabled by default when the Pi is connected to a 3A power supply.
What about NVMe? Here, flashing is not the last step. The hardware docs say to go to Advanced Options, then Boot Order, and pick an option that includes NVMe. In the BOOT_ORDER setting, the value 0x6 means NVMe on the CM4, CM5, Pi 5 and Pi 500+.

In the photo, the NVMe SSD sits on a HAT stacked above the board, linked by a flat ribbon cable. That drive is what the Boot Order option has to include before the board will start from it.
What happens when the write or the boot fails?
What does a failed verification mean? Imager's verify step reads the card back after writing to check the data. The clearest comment on a failure sits in an issue on the Imager GitHub project. A maintainer there says it is normal that the SD card is not usable if verification fails, since the partition table is not written.
Commenters in that thread say the card reader is often the culprit. That view comes from the community, not from Raspberry Pi. Beyond this thread, the sources here say little about verification, and none covers a card that never shows up in the Storage list.
And a Pi that will not start? If it doesn't boot within 5 minutes, the getting-started guide says to check the status LED. The guide also lists re-imaging the card and reflashing the bootloader. Re-imaging means writing the card again with Imager.
For a headless Pi that never joins Wi-Fi, the relevant line is the one from the customisation step. Raspberry Pi's guide wants Wi-Fi set before the first boot.
The last finding sits in the field that is easiest to skip. In the getting-started guide, the locale choice also sets the Wi-Fi regulatory domain. That domain always corresponds to the capital city you select. So the city you pick for your time zone also picks your Wi-Fi country.
Method note: the settings and figures come from the official Raspberry Pi documentation, the Imager GitHub project, OMG! Ubuntu, Linux Magazine and RaspberryTips. None of it was tested for this article.

I test how tiny AI models behave on low-cost boards such as the Pi Zero. My reviews focus on speed and memory limits.
2 articles →