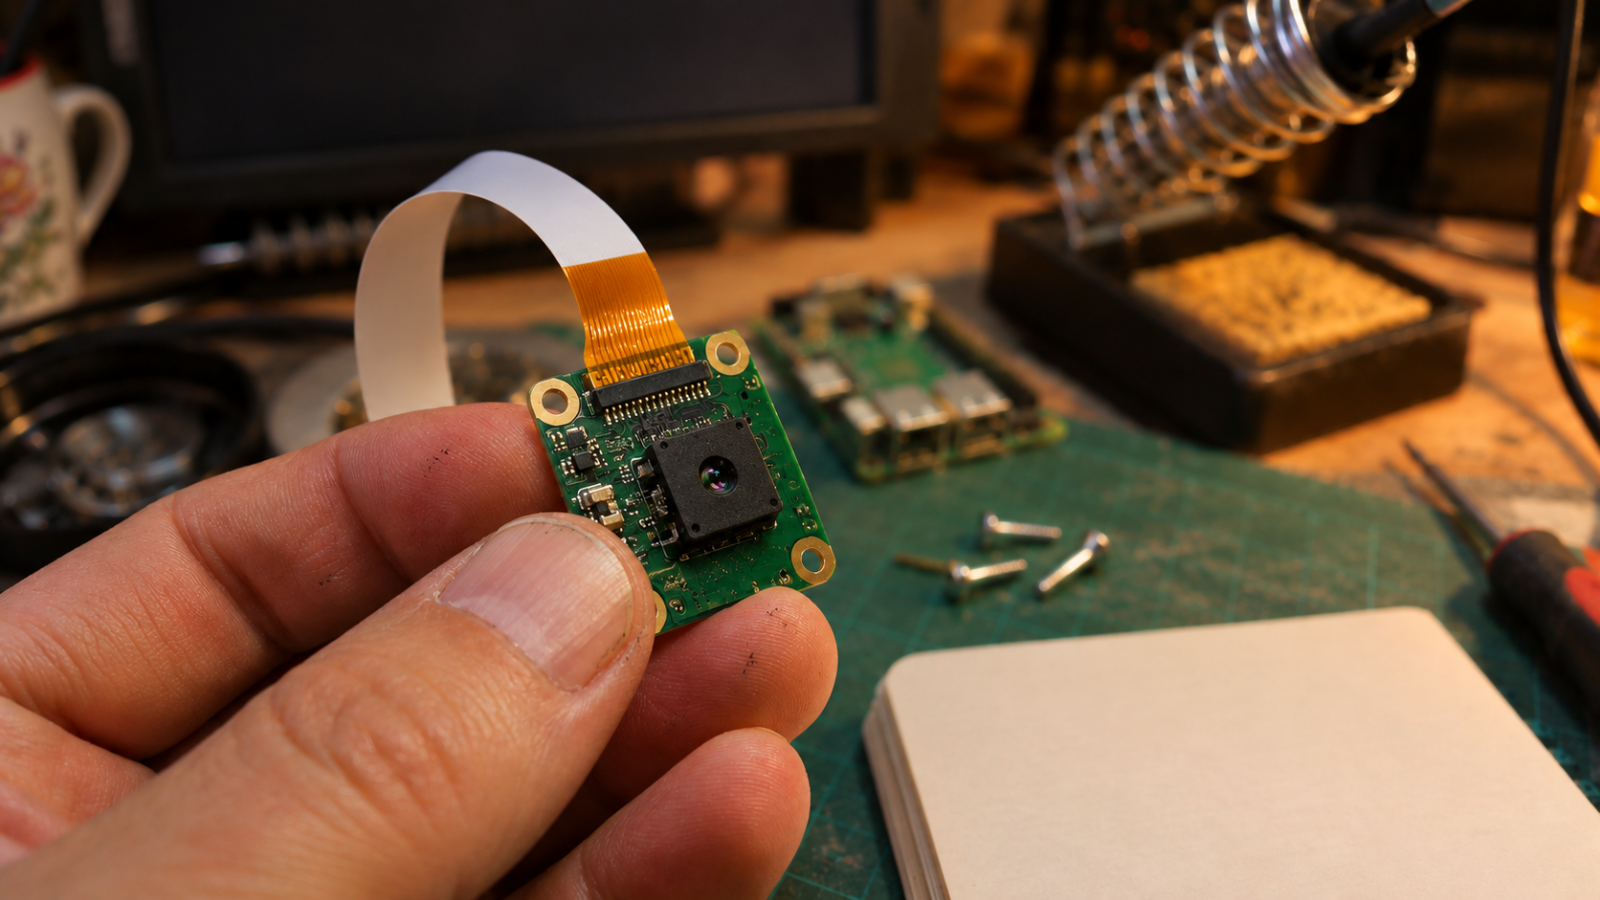
About three years after the Pi 5 arrived, its small 22-pin camera port still catches out buyers who pick a camera first and think about the cable afterwards. I think that order is backwards for anyone building a security cam, a bird box, a time-lapse rig or a robot. Check the cable before the camera: the Pi 5 and every Zero take the narrow 22-pin one, and older flagships take the wide 15-pin one. The module comes second, from a range that runs from the 8 MP Module 2 up to the HQ, Global Shutter and AI cameras.

Is Camera Module 3 the only camera most people need?
For most projects it is, and the whole range side by side shows why. The specs here are Raspberry Pi's own, while the focus ranges and the Amazon prices from 21 November 2026 come from the raspberry.tips camera comparison. Module 2 is 8 MP on a Sony IMX219, 62.2 degrees horizontal, with a 15 cm cable. Module 3 is 12 MP on the IMX708, 66 degrees horizontal, with autofocus from about 10 cm to infinity and a $25 starting price. The Wide reaches 102 degrees horizontal and focuses from about 5 cm, at $65.47 on Amazon, and the NoIR, which drops the infrared filter, was $39.99. The HQ is 12.3 MP with a C/CS or M12 mount, no lens and no price on its official page. The Global Shutter is 1.58 MP with a C/CS mount, and the AI Camera is 12.3 MP on the IMX500 at $95.73. A USB webcam plugs into a USB port instead of the camera connector, and none of these sources gives a webcam price. Raspberry Pi's own list prices run from $25 to $70, per raspberry.tips. My answer is the standard Module 3, unless the subject sits closer than about 10 cm, which is the Wide's job.
The Camera Module 3 page fills in the detail behind those numbers: a 4608 × 2592 sensor with phase detection autofocus, which Raspberry Pi describes as rapid, sold from $25 with a standard or wide lens and with or without an infrared filter. Autofocus is the feature I would pay for on its own, because it lets one module cover subjects from about 10 cm out to infinity without anyone turning a focus ring.
Field of view is where the numbers seem to clash. The product page quotes diagonal figures, 75 degrees for the standard lens and 120 for the Wide, while the documentation's spec table quotes horizontal ones, 66 and 102. Those measure different directions across the same frame, so compare like with like. The raspberry.tips page gives the Wide 102 by 67 degrees without naming the axes, and its first figure matches the horizontal 102. Sure, $65.47 is a lot more than the $25 headline, but I think the Wide earns it whenever the subject sits inside the standard module's 10 cm limit.
Camera Module 2 makes sense to me only for matching an existing project. Its product page lists the 8 MP Sony IMX219, video at 1080p45 and 480p100, and a 15 cm cable that does not fit a Zero. The documentation's spec table carries a November 2026 note about an IMX355 sensor for Module 2, and the product page does not confirm it.
The HQ and Global Shutter cameras solve narrower problems than their names suggest
The High Quality Camera is the one people want as soon as they read the name. Its product page lists a 12.3 MP Sony IMX477 with either a C/CS mount or an M12 mount, but no price, and the lenses come from third parties, so the lens is always a second purchase. It belongs with buyers who already know which lens they want and why.

The Global Shutter camera fixes a different problem. Its page lists 1.58 MP, up to 1456 × 1088 at 60Hz, and a C/CS mount with an adapter included, but no lens. A global shutter captures the whole frame at the same moment, which suits fast movement and machine vision. For anything without fast motion to freeze, my own view is that 1.58 megapixels is a poor trade against the Module 3's 12.
The AI Camera uses a 12.3 MP Sony IMX500 sensor, according to Raspberry Pi's spec table, and the raspberry.tips snapshot found it at $95.73 on Amazon. That sits well above the Module 3, though the comparison sets an Amazon price against Raspberry Pi's $25 list price, so it is not like for like. Even allowing for that, I would not make the AI Camera anyone's first camera.
A USB webcam is the right answer more often than the camera pages suggest. Raspberry Pi's camera software documentation says that for many purposes a USB webcam has everything you need to record pictures and video. On the Pi 400 and Pi 500 it is the only option, since raspberry.tips lists neither board with a CSI connector, and on any board it skips the ribbon cable entirely.
Will it fit my Pi, and which cable does it need?
A missing 22-pin cable is the usual first-evening problem, by the raspberry.tips account, so here is the whole rule in one place. Raspberry Pi's camera connection guide splits the boards in two. The Pi 4 and older flagship boards take the wide 15-pin cable. The Pi 5, every Zero and the Compute Module IO boards take the narrow 22-pin cable, and the Pi 5 has two of those mini ports (raspberry.tips). The Pi 400 and Pi 500 take no camera cable at all, because they have no CSI connector. Cables come in 200, 300 and 500 mm lengths (raspberry.tips), and I would order the shortest one that reaches.
The camera itself is rarely what fails to fit. The documentation says Camera Modules work with all Raspberry Pi computers that have CSI connectors, so by that statement a Module 3 moved from a Pi 4 to a Pi 5 needs a 22-pin cable and nothing else. The Zero is stricter, since the Camera Module 3 page says every Zero model needs a Raspberry Pi Zero camera cable, whether you settled on the Zero 2 W or an older Zero.
Power off, seat the ribbon, then ask the Pi what it sees
Turn the board off before anything else, since raspberry.tips advises against plugging or unplugging CSI cameras while the system is running. Open the connector's latch, push the ribbon in straight and all the way, then close the latch again. The connection guide marks the orientation for you: on flagship and Zero boards, pin 1 is the pin furthest from you and closest to the GPIO header.
The software names changed with Raspberry Pi OS Bookworm. Raspberry Pi's documentation says the camera capture apps are called rpicam-* from Bookworm onwards, and every command below uses those names. Our guide to flashing Raspberry Pi OS with Raspberry Pi Imager covers putting a current release on the card if yours predates Bookworm.
The first step is the list-cameras option, which the camera software documentation gives as the way to list every camera available on the platform. Type it at the prompt exactly as shown:
rpicam-hello --list-cameras
If your module appears in that list, the documentation's own example saves a still called test.jpg, and our list of essential Linux commands for a new Pi owner covers moving around the file system to find it afterwards:
rpicam-still --output test.jpgWhat if the camera is not detected?
Most failures are physical, and Raspberry Pi's troubleshooting section starts with the cable, which should be firmly seated and fully inserted. The camera draws its power and control only through the CSI port, the same section says, so nothing else on the board can make up for a loose ribbon. With the power off, reseat the cable at both ends, at the camera board and at the Pi.
Contact direction is its own check in that same list. The documentation asks that the contacts face the correct direction, so look at which side of the ribbon meets the connector, not only how far it goes in, and then run the list command again:
rpicam-hello --list-camerasIf the list is still empty, look at permissions. This advice is official: the camera software documentation says to add your user to the video group to avoid permission errors. The command below does that for whoever is logged in:
sudo usermod -aG video $USERA DietPi forum thread adds one report, a Camera Module 3 on a Pi 3B that appeared once the user, named dietpi on that system, joined the video group. Unlike the documentation's advice, that is anecdotal.
The last place to look is /boot/firmware/config.txt. The documentation says camera_auto_detect=0 turns automatic detection off, which is only needed when a camera overlay is loaded by hand. In a SunFounder forum thread about a Pi 5, the camera appeared after this line was set, the Pi was rebooted and the list command was run again, an anecdote rather than official advice:
camera_auto_detect=1One more point from raspberry.tips sits outside detection altogether: the NoIR camera needs an infrared light.
Buy the Module 3: you give up the older Module 2 and a fancy interchangeable lens, and in return a $25 autofocus camera with the right cable for your board gives you the best chance of a picture the first time you plug it in.
Figures come from Raspberry Pi's product pages and documentation and from the raspberry.tips comparison, including its Amazon prices of 21 November 2026. No hardware was tested for this article.

My posts look at how far a Raspberry Pi can go with retro gaming. I test which old consoles run smoothly and which ones struggle. Readers send me questions, and I answer them with plain, practical advice.
15 articles →